How to add your resume to Istos
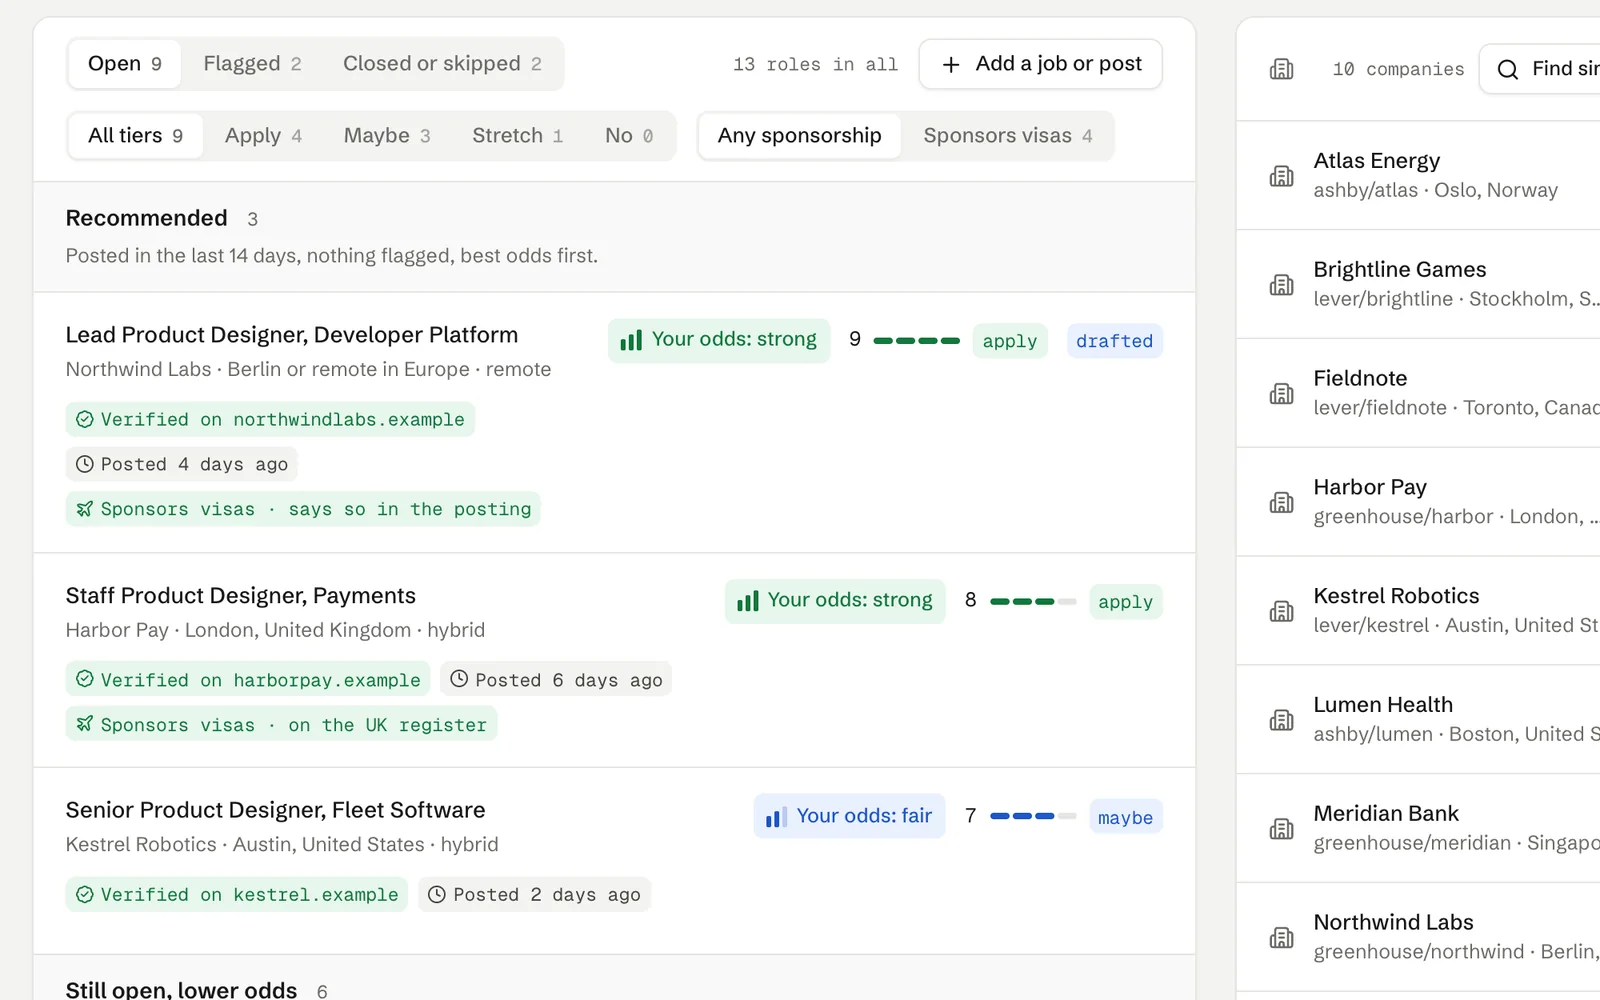
One PDF on Connections is the file employers receive and the text the agents read. How to add it, how to check it's attached and in Knowledge, and how to replace or remove it later.
Your resume does two separate jobs in Istos, and it helps to know which is which before you upload anything.
The first job is the file an employer opens. That's a PDF, it lives on Connections, and Istos attaches it to every job application email. The second job is the text the agents read: your roles, results and skills, which Istos uses to score roles, write applications and answer interview questions. That text lives in Knowledge.
One upload covers both. When you add the PDF on Connections, Istos also reads its text and keeps it in Knowledge as your pinned resume. It takes about two minutes.
Add your resume PDF
Open Connections, then Your resume
Open Connections from the sidebar and choose Your resume in the section list. The card says what it's for: it goes with every job email, and the job agent writes from its text.
Upload the PDF
Press Upload PDF and choose your file. Istos checks that it really is a PDF and that it's under 5 MB, reads its text, then shows "Uploaded. Every job email will carry this file, and its text is in Knowledge for the job agent."
Check the file
The card now shows Added, the file name and its size. The key changes to Replace PDF, and the small cross next to the size removes it.
Check the text copy
Under the file, a line says how many words of it are in Knowledge, with an Open Knowledge link. That's the text the agents read.
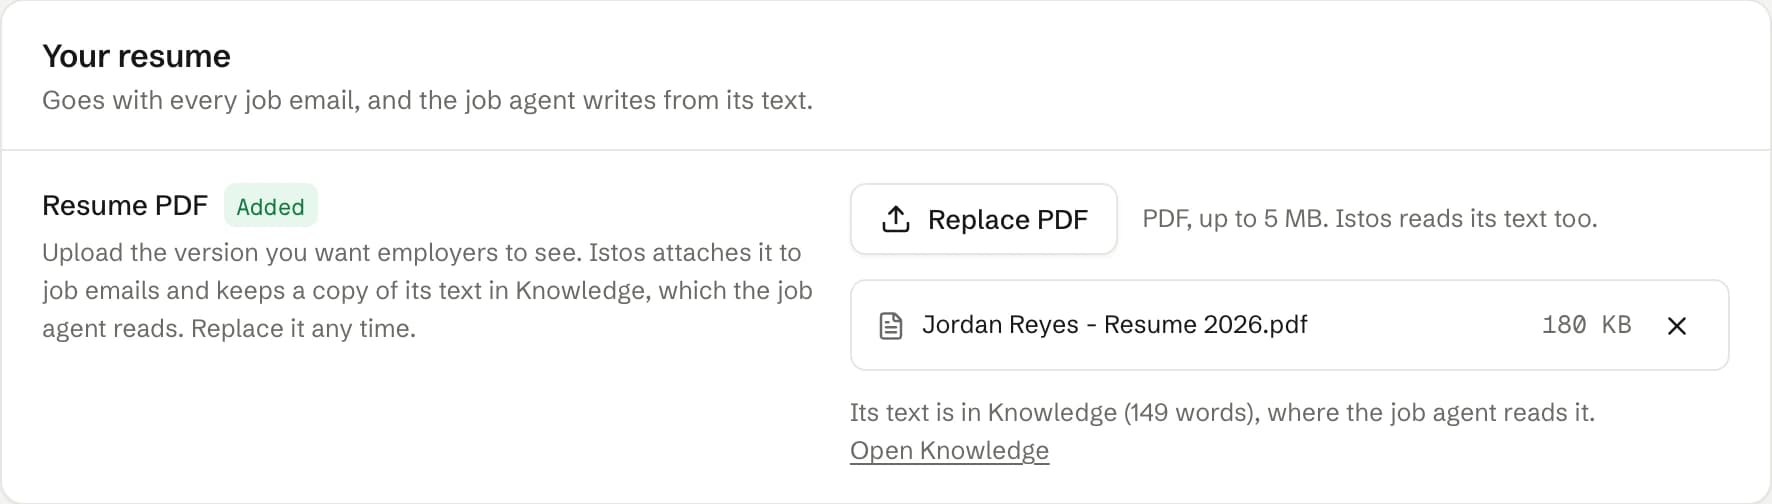
Connections, then Your resume. On demo data.
Name the file the way you'd want a hiring manager to see it in their inbox. Istos keeps the name you upload, so "Jordan Reyes - Resume 2026.pdf" reads better than "final_v7.pdf".
What the agents read
Open Knowledge and the Resume folder. There's a document called Resume, with From your resume PDF under its title. It's pinned, which means it goes into every prompt the Jobs and Investors agents write. Open it to see exactly what Istos read from your PDF; you can edit it there if the text came out with a stray heading or a broken line.
Because the PDF sets this document, a second upload of the same resume doesn't add another one. It updates this one.
If your PDF is a scan, or a picture of text, Istos can't read any words from it. The upload still works and the PDF still goes on job emails, but Connections tells you it couldn't read the text, and the job agent has nothing to write from yet. Export the resume again from your word processor so the text is selectable, or add a Word version in Knowledge, below.
Add a Word version or another resume
You don't need this if the PDF above worked. It's for a Word file, or a second version you want the agents to read as well.
Open Knowledge and press Upload
Open Knowledge and press Upload. You can upload a PDF or a Word file.
Set the kind to resume
Choose resume in Kind. This matters: the Jobs agent reads resume documents when it scores a role and writes an application, and so does the Investors agent when it writes about you.
Keep it pinned and upload
Leave Pin it so it goes into every prompt ticked and press Upload. Istos reads the text and confirms how many words it found. It then shows up in the Resume folder.
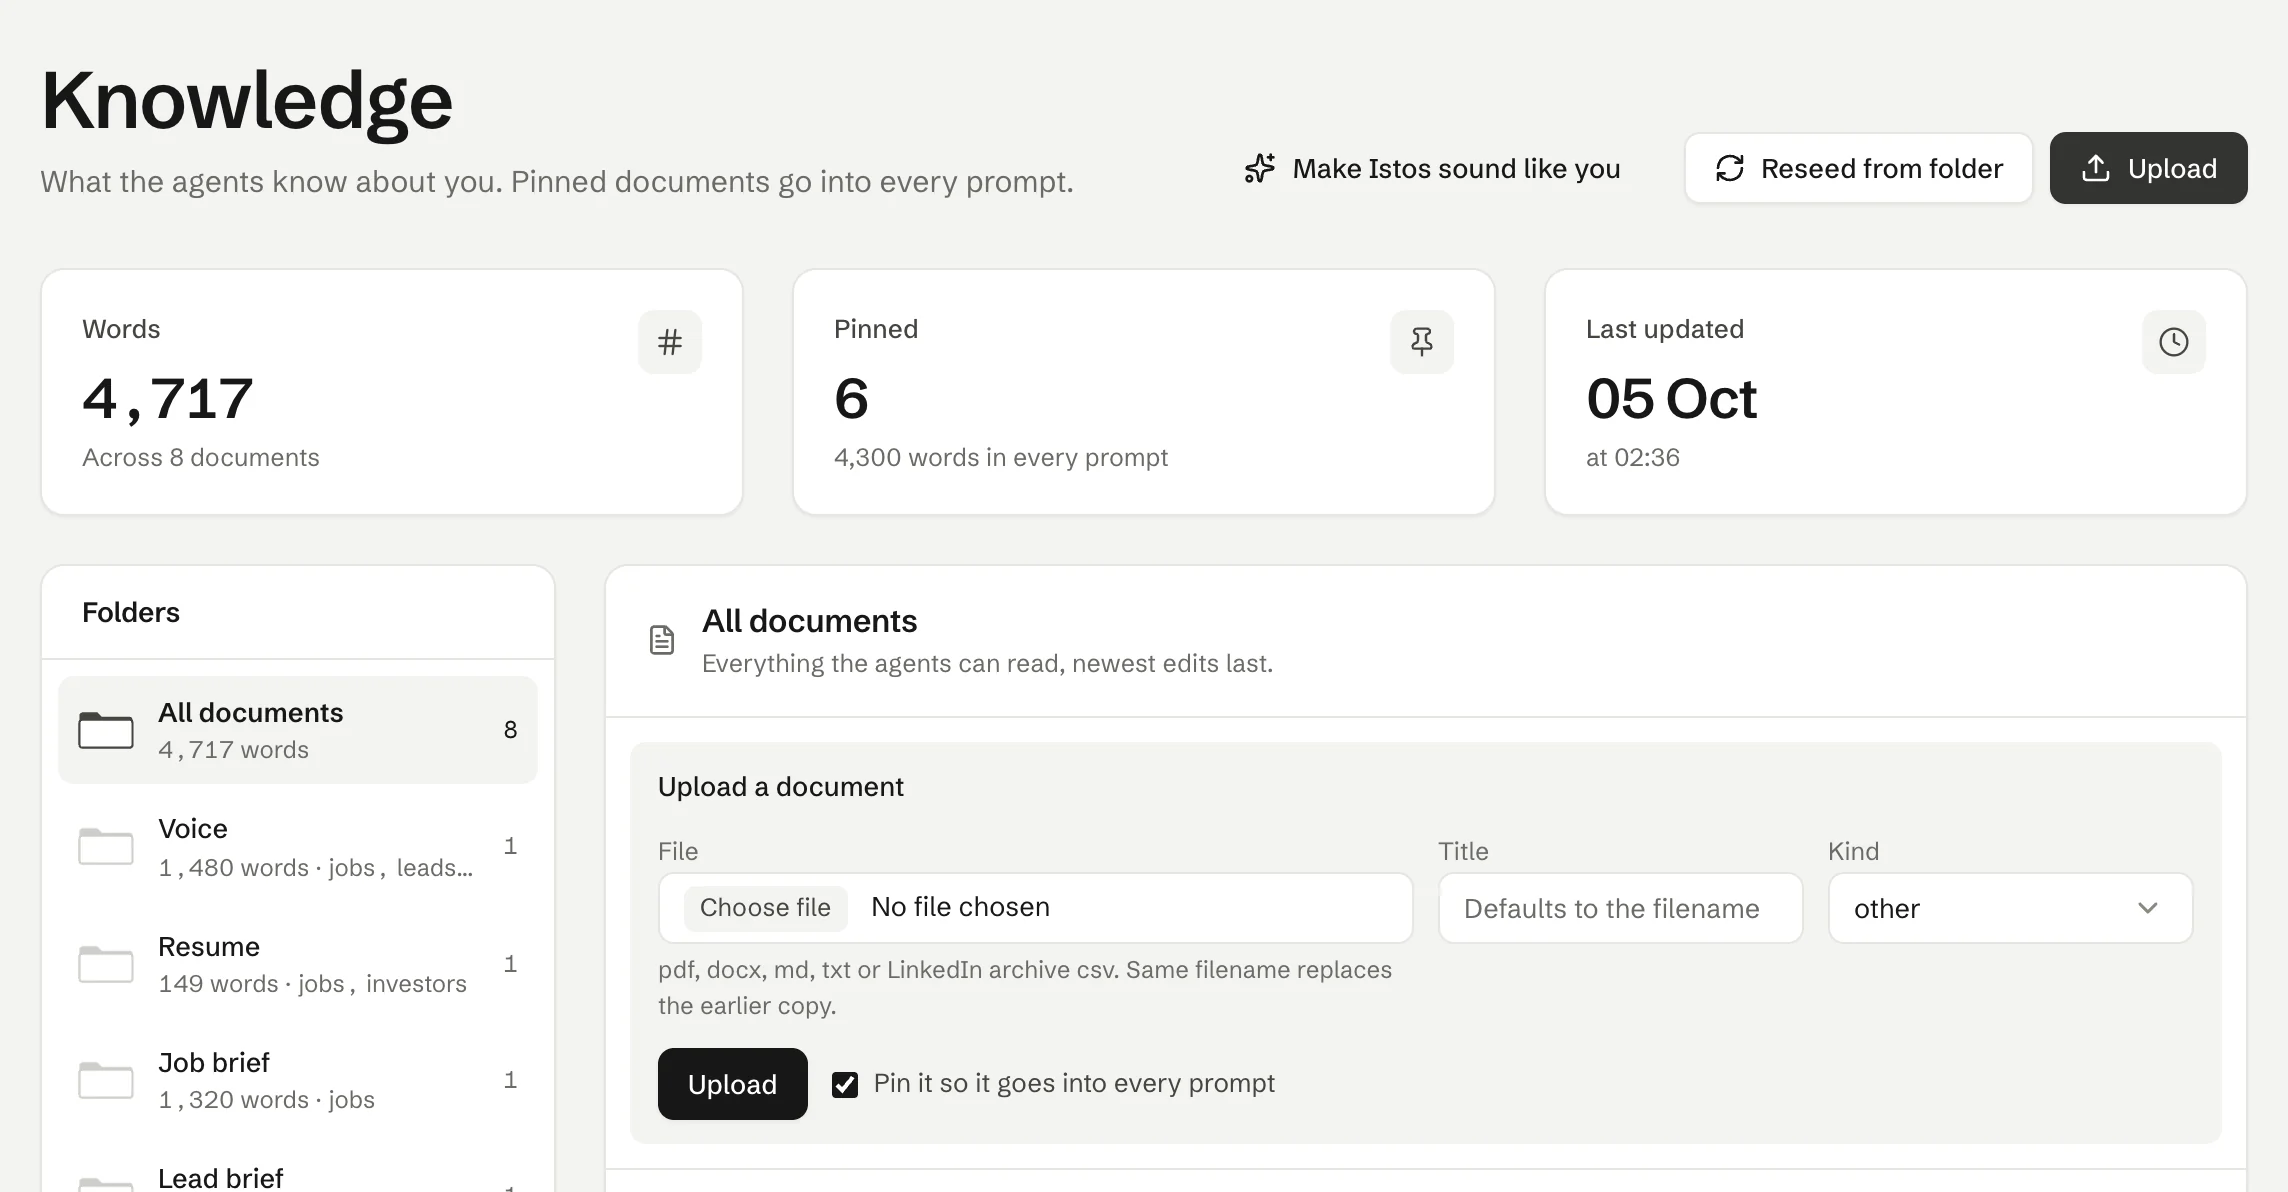
Knowledge, then Upload. The Resume folder on the left shows what the agents read. On demo data.
Uploading the same file name that your Connections PDF has updates the resume document that PDF made, so nothing doubles up. Any other file adds a separate document, which is useful when you keep two versions on purpose.
If you've uploaded your LinkedIn work history as well (part two covers that), keep both. The resume is the version you chose to show; the LinkedIn history often has roles and details you left off. Istos never adds anything you didn't write down, so a gap in your documents shows up as a gap, not as an invented line.
See it on a job email
Open the Queue and pick any job email. Under Attachments you'll see your resume with the tag resume, automatic. You can still press Add file to attach a portfolio or a cover letter to that one draft; each file can be up to 5 MB, and it goes on top of the resume, never instead of it.
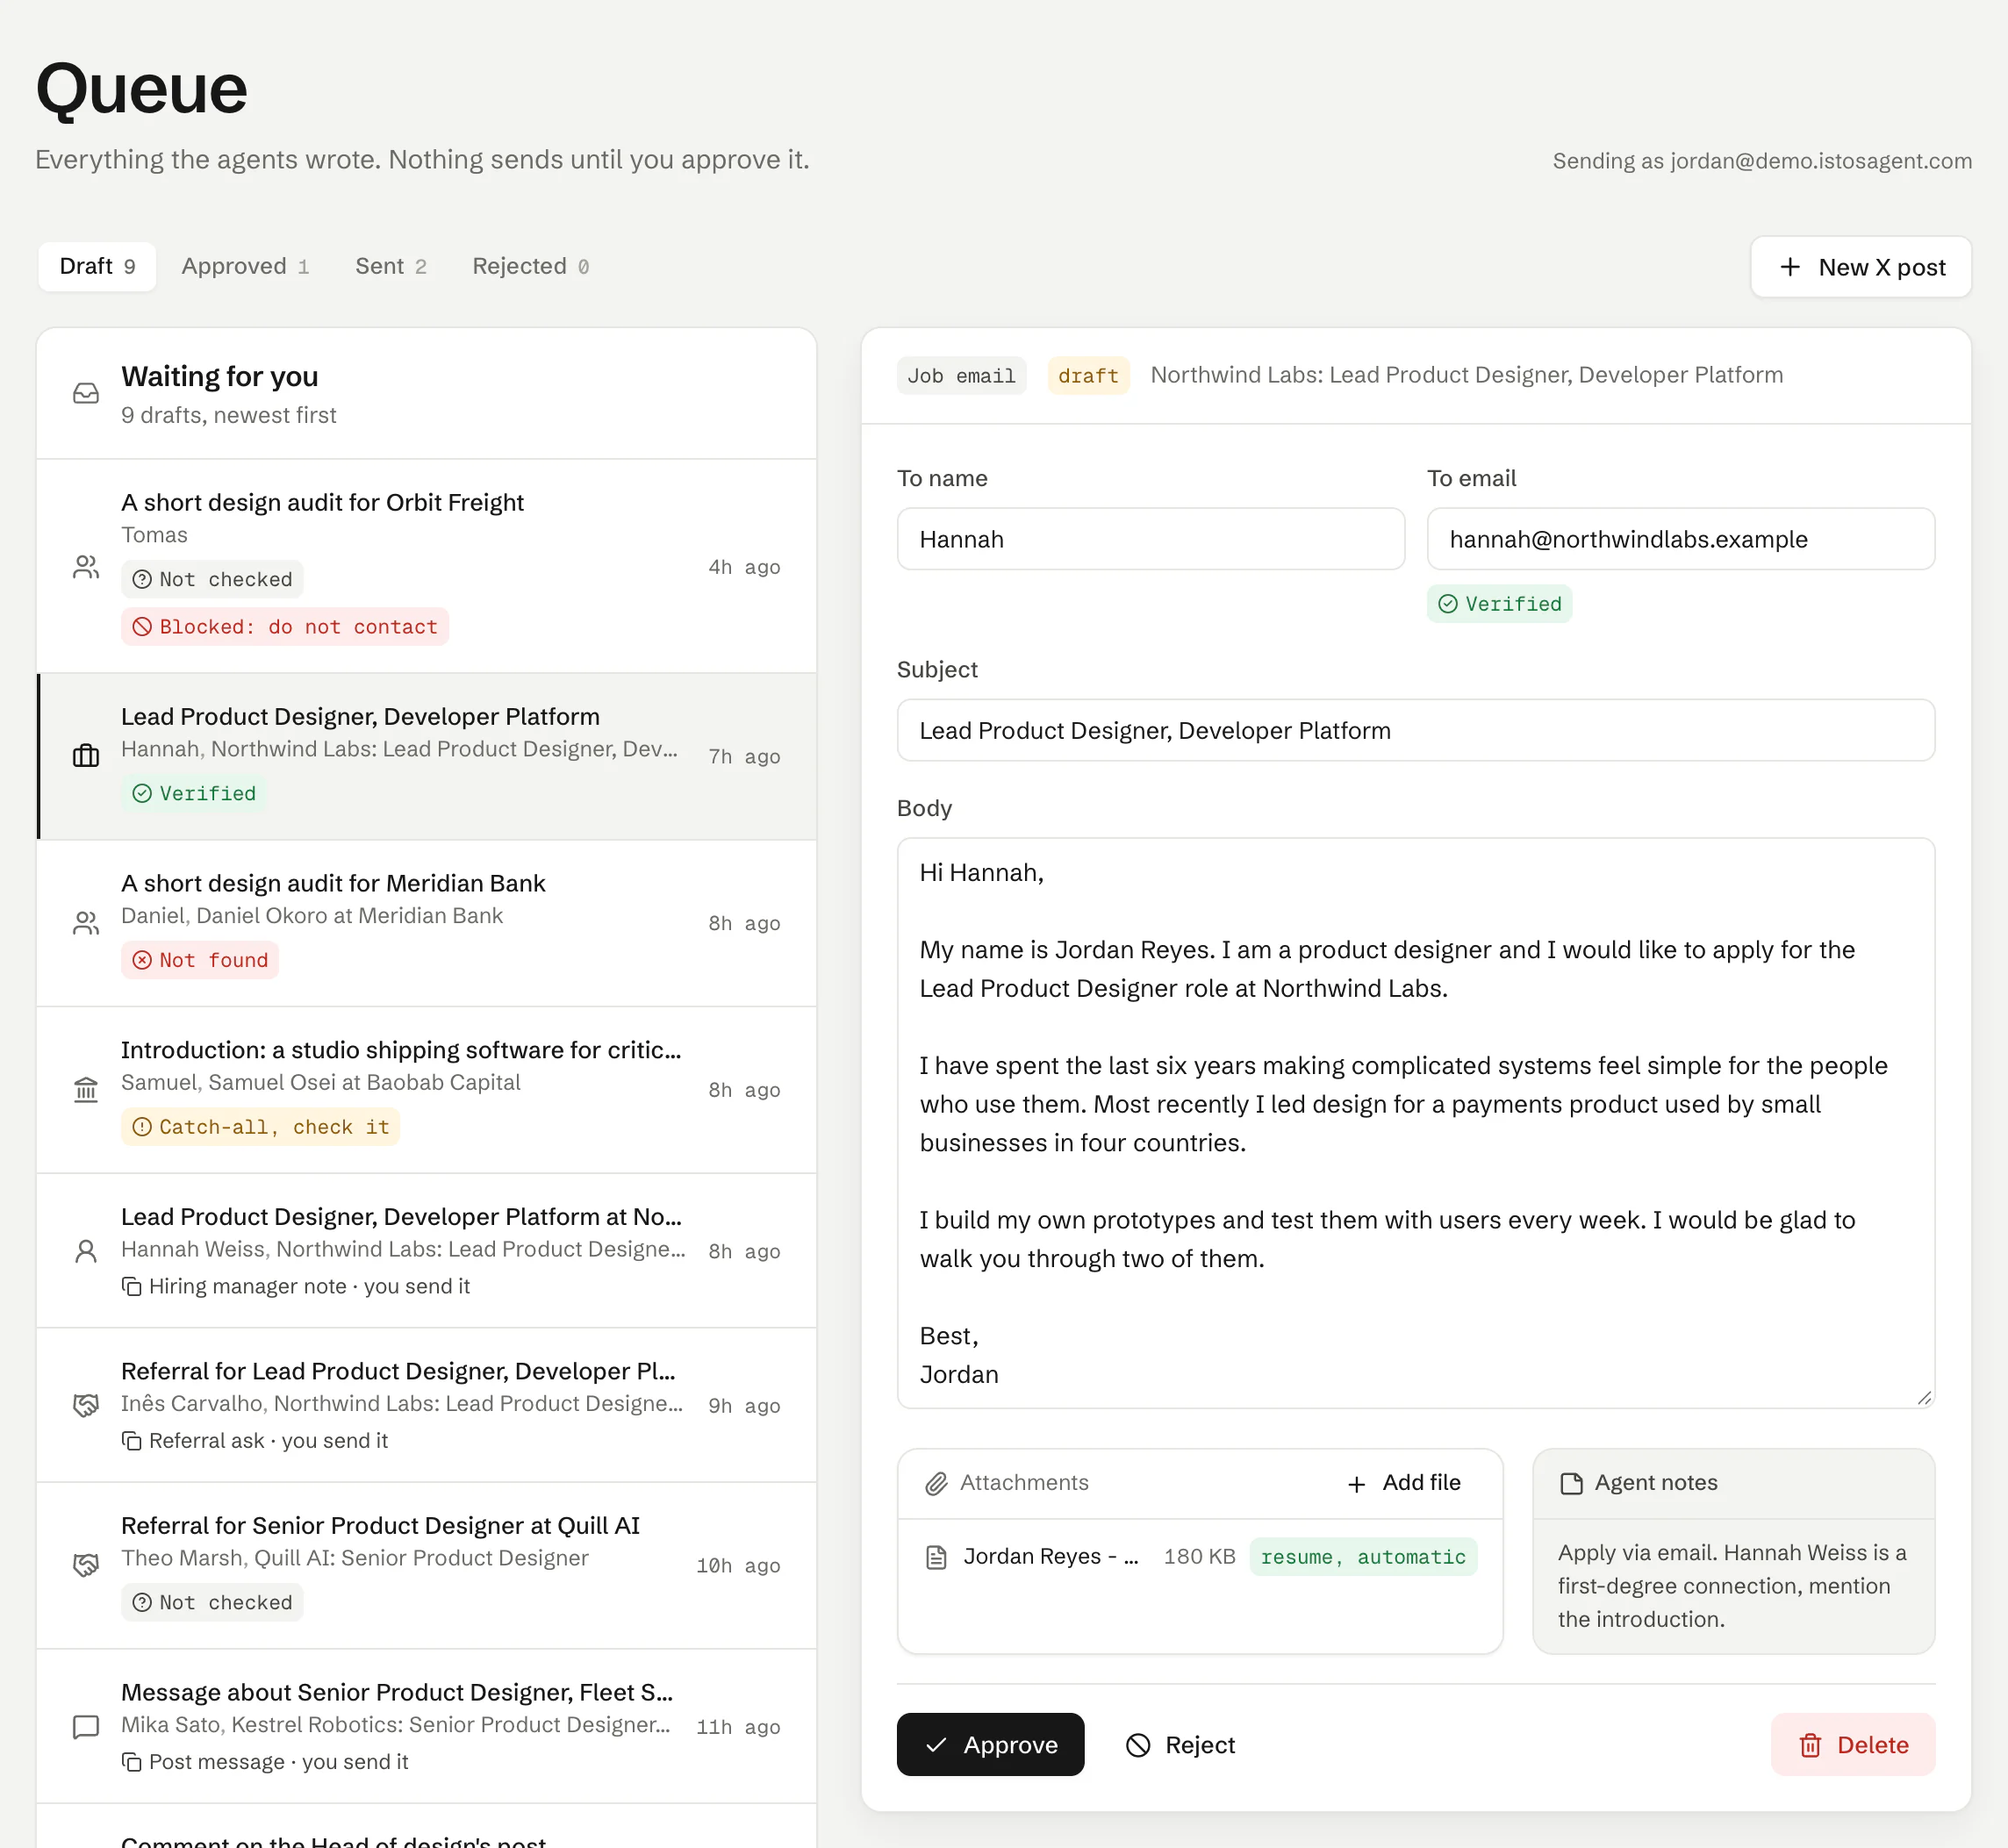
A job email in the queue, with the resume attached automatically. On demo data.
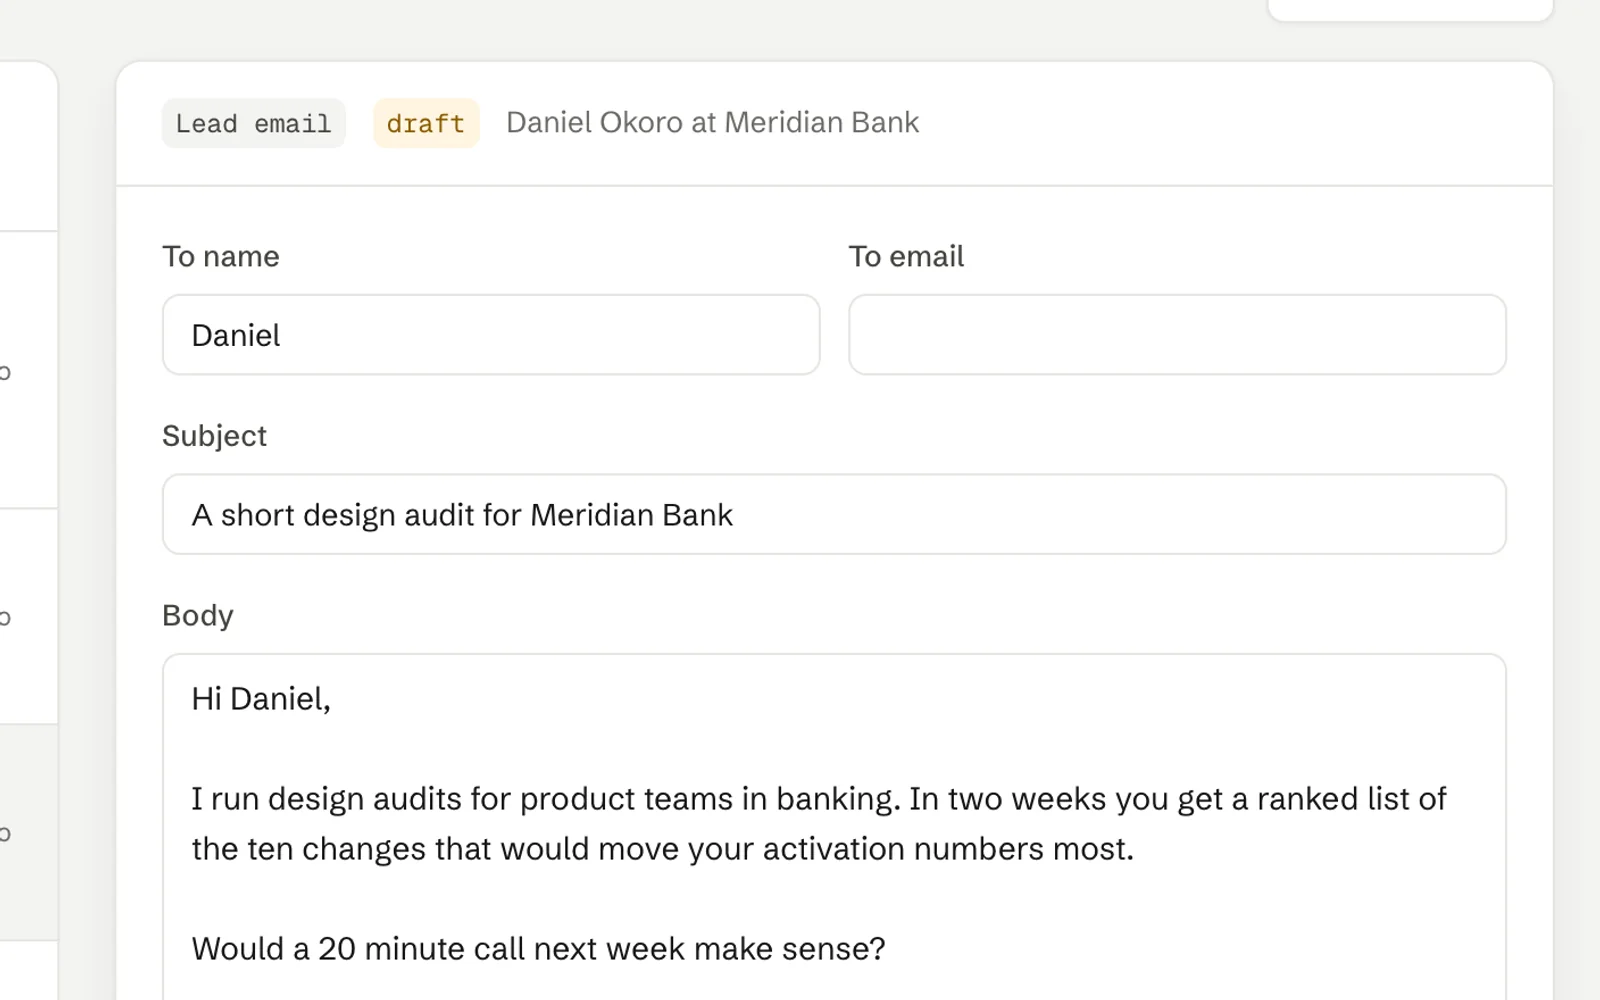
Only job emails carry it. Lead emails and investor intros go without, unless you add a file to that draft yourself.
Replace it later
When you update your resume, press Replace PDF on Connections. Every job email sent from then on carries the new file, and the resume in Knowledge is updated with the new text in place. Emails already sent keep the one they went with.
If you've edited the Knowledge copy by hand, replacing the PDF writes the new text over your edits. If you've unpinned it, it stays unpinned.
To take the PDF off, press the small cross next to it. Because the agents may be writing from the text, Istos asks whether to keep the Knowledge copy: Keep the Knowledge copy removes only the file employers receive, and Remove both removes the text too.
If something goes wrong
- "The resume should be a PDF." The PDF upload on Connections only takes PDFs. Export a Word file as a PDF and try again.
- "Keep the PDF under 5 MB." Most resumes are well under that. A large one usually has big images inside; export it again with smaller images.
- "That file is not a real PDF." The file ends in .pdf but isn't one inside, which happens when a file is renamed rather than exported. Export it from the original app.
- A job email has no resume. The draft shows "No resume set" under Attachments, with a link to Connections. If you send it anyway, it goes without one.
- "Uploaded. Every job email will carry this file", then a note that Istos couldn't read its text. The PDF is a scan, a picture of text, locked with a password or damaged. It's still attached to job emails, but the agents have nothing to read. Export it again from your word processor, or add a Word version in Knowledge.
- "No text found in that file." The Knowledge upload couldn't read any words, which happens with a scanned resume saved as a picture. Upload the original Word file, or a PDF exported from it.
Next in the series: making sure what you approve goes out from your own address.
Let the agents do the searching
Istos is in private beta. Join early access, or try the free preview on your resume, your website or your raise first. Nothing sends until you approve it.